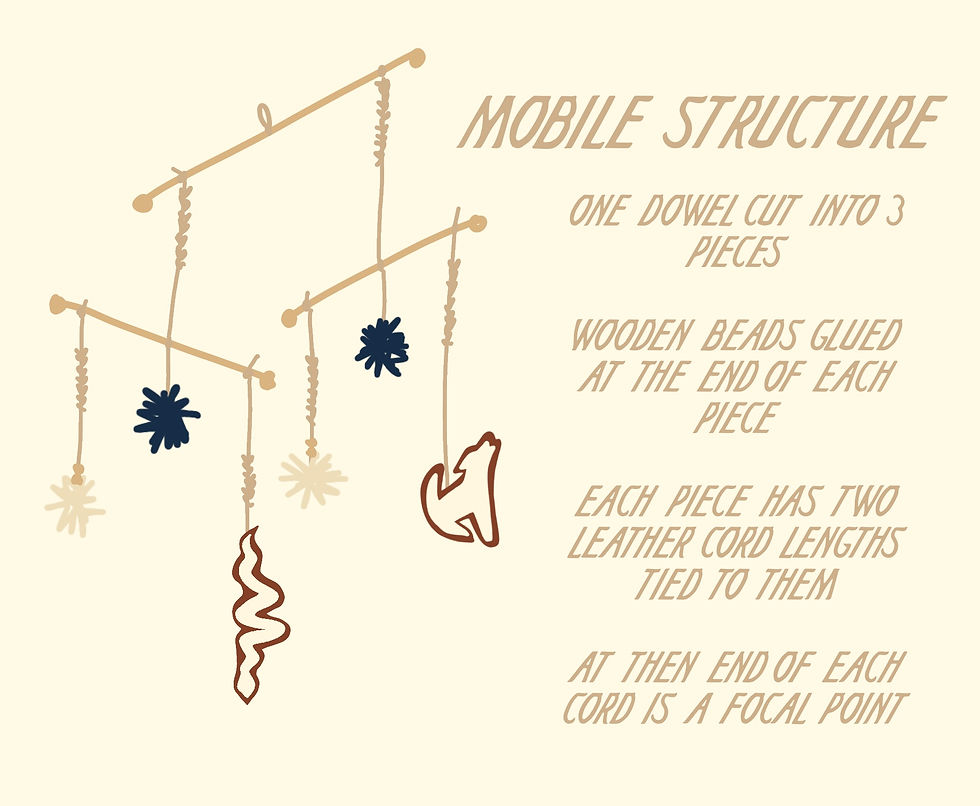
I made a little infographic that pretty much explains how this works.

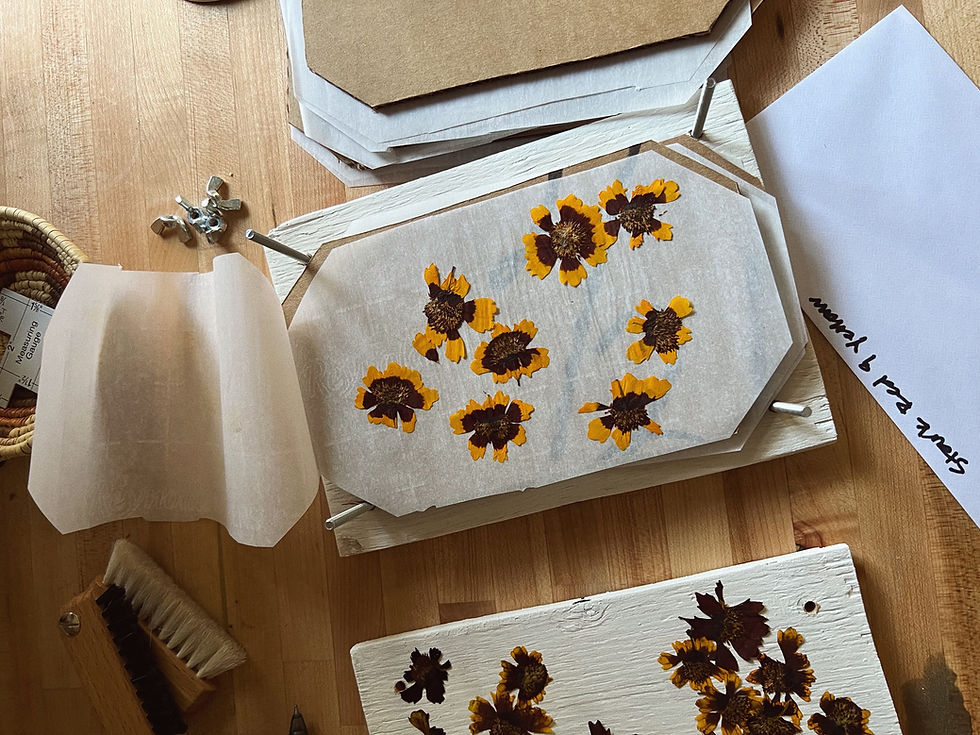
Supplies:
3/8 in. Sheathing Plywood
Cardboard
Parchment paper
11/64 drill bit
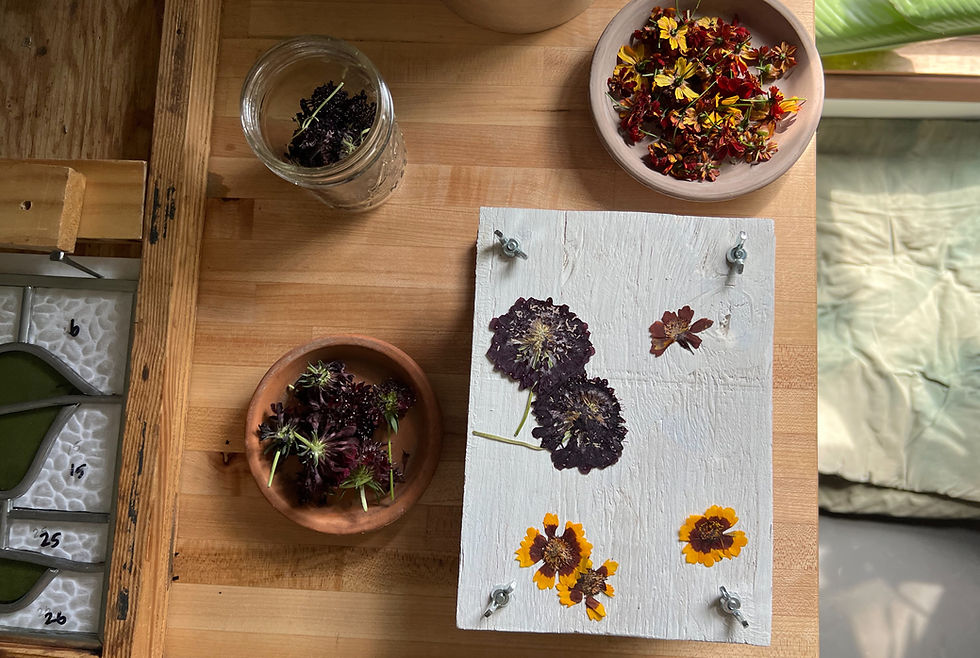
I use envelopes to store my pressed flowers.

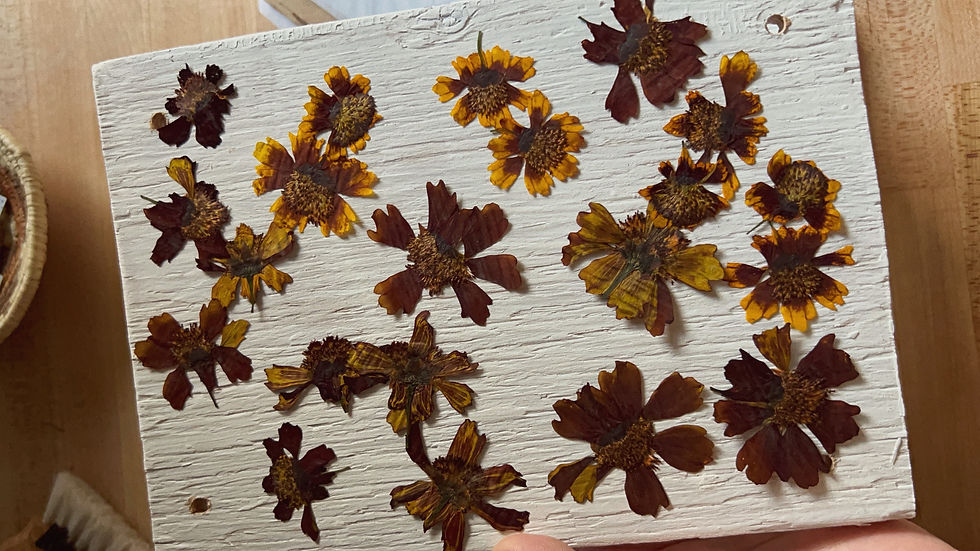
I have been using my press with mostly black knight scabiosa and coreopsis from my garden.